If you connected pcWRT to a main router (which connects to the Internet), and you have a printer on the main router network, you may need to follow these instructions so that you can print from devices connected to pcWRT (PC3 and PC4 in the diagram below).
In this scenario, the connection diagram looks like this:
Main router (192.168.1.1)
|
|----- PC1  (192.168.1.101)
|----- PC2  (192.168.1.102)
|----- Printer (192.168.1.201)
|
|----- pcWRT (WAN: 192.168.1.2, LAN: 192.168.10.1)
        |
        |---- PC3  (192.168.10.124)
        |---- PC4  (192.168.10.125)
These are the steps:
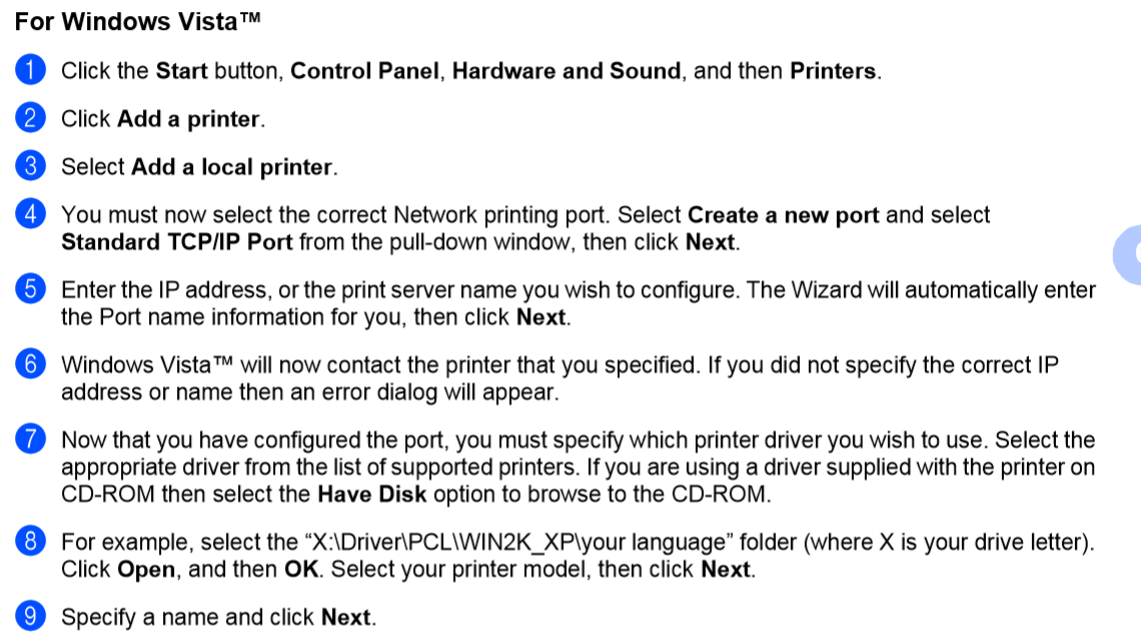
- Install the printer on the computer (devices PC3 and PC4). Below are the steps for a Brother printer on Windows Vista. The process is similar for other OS and printer brands. In step 5, enter the IP address of the printer. For the example scenario shown above, this is 192.168.1.201.
- Log on to the pcWRT router. Click the System icon. Add a host name for the printer in the Hosts section. For the example scenario, add this line below the line “127.0.0.1 localhost”: 192.168.1.201 printer.lan. Click Save after you’ve done that.
- If there are Calendars defined for profiles for the devices (PC3 & PC4), you need to add a calendar for the printer to make it always available. Go to parental control settings, for each profile where calendars are defined, create a new calendar (name it printer, for example), enter printer.lan (the printer hostname) in the Sites box, allocate 24 hours for all days. Save parental control settings.
Please note that there’s no need to do step 3 above for a profile, if there are no calendars for that profile.
Update 09/13/2017: As of version 1.22.4, step 2 is no longer needed. But if you have a calendar or multiple calendars for the profile, you still need to do step 3.
.
