Log in to your Mullvad VPN account. Click the Download button.
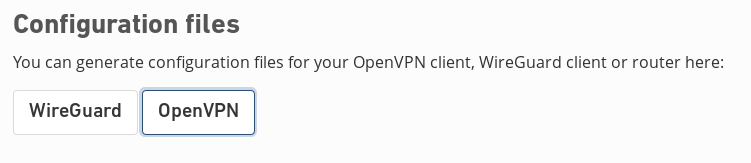
Scroll to the bottom of the page, in the Configuration files section, click OpenVPN.
In the OpenVPN configuration file generator page, select Linux for platform. Choose the server location, then click Download zip archive.
Add a Mullvad VPN OpenVPN connection
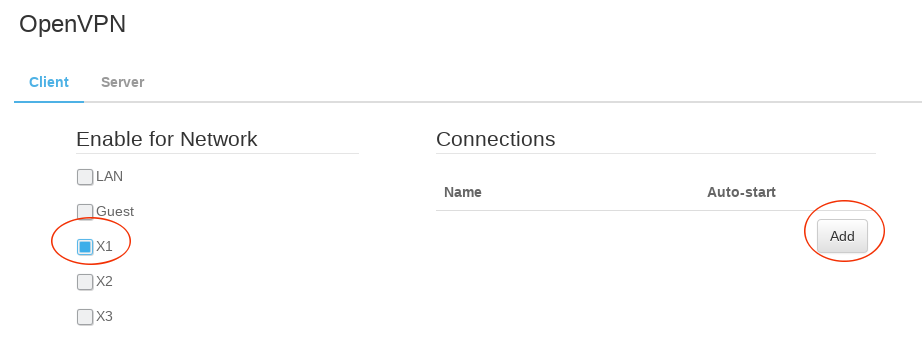
Log on the pcWRT console, open the OpenVPN page under Apps.
Under the Client tab, check the network you want to enable Mullvad VPN for, then click the Add button to add a new VPN connection.
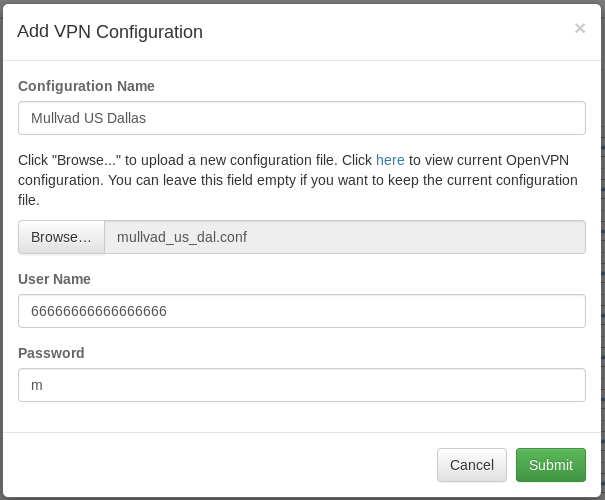
In the “Add VPN Configuration” dialog:
Enter a name for the connection
Select the OpenVPN configuration file (mullvad_xx_xxx.conf) you downloaded above
Enter your Mullvad account id as username and ‘m’ for password
Click “Submit”
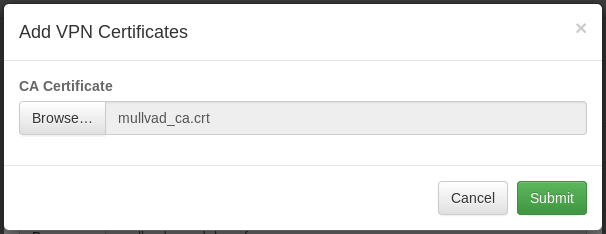
Select the Mullvad CA certificate file (in the same zip file downloaded from Mullvad) in the next popup. Click Submit.
Click the Save button to save changes.
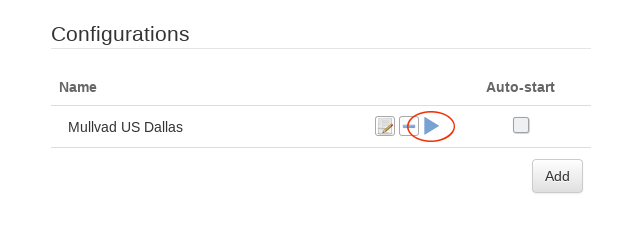
Start a Mullvad VPN OpenVPN connection
Click on the blue “Play” button to start the Mullvad VPN OpenVPN connection.
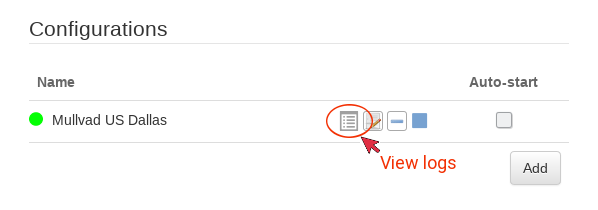
If connection is successful, a green dot will appear on the left of the connection configuration line. In case of connection failure, click on the “log” icon to view OpenVPN logs.
If you enjoyed this article please consider sharing it!