-
Stream movies from PC to Firestick with Kodi

Putting Kodi on your Firestick is one of the best ways to watch movies on your big screen TV. The Firestick provides convenient remote controls and high quality playback, while various Kodi addons bring you vast amounts of video sources from the Internet.
However, I’m not going to show you how to install and use addons in this note. I’ll show you how to use Kodi on Firestick to play movies that are stored on your computer.
In summary, there are four steps:
- Organize movie files on your computer
- Share the folder that contains the movie files to your network
- On your Firestick, create a movie library in Kodi from the shared folder
- Assign a static IP address to your computer
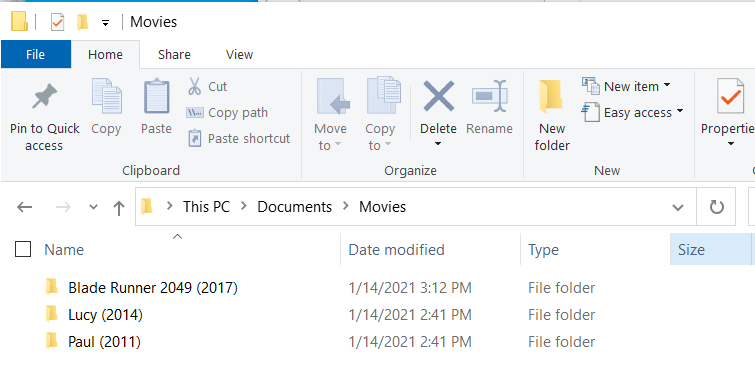
Organize movie files on your computer
Kodi gives you some flexibility to organize your movie files, but it makes things a lot easier if you can stick to the two rules below:
- Create a separate folder for each movie. This way, you can store artwork and info files alongside the video file.
- Name the movie folder like this: movie name (year)
More info is available from the Kodi Wiki.
Share the folder that contains the movie files
The process shown here is for Windows 10. The steps will be different if you user a different Operating System (OS).
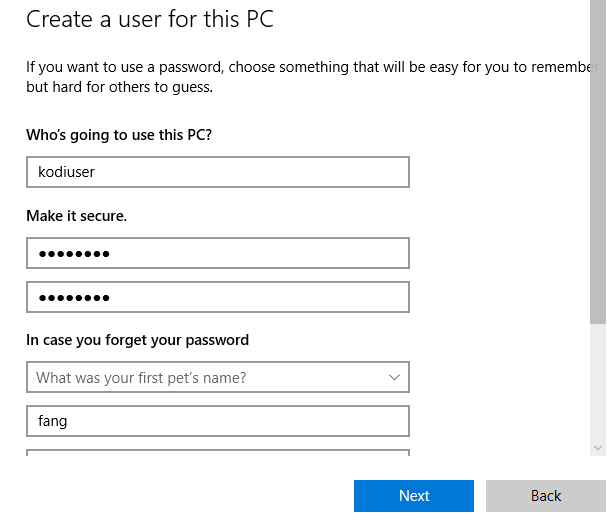
Before sharing the movie folder, create a dedicated Kodi user on your computer.
1. Select Start > Settings > Accounts and then select Family & other users. (In some editions of Windows you’ll see Other users.)
2. Select Add someone else to this PC.
3. Select I don’t have this person’s sign-in information, and on the next page, select Add a user without a Microsoft account.
4. Enter a user name, password, password hint or choose security questions, and then select Next.
Share the movie folder, give access to the Kodi user.
- Right click on the Movies folder, then click Properties to bring up the Properties dialog.
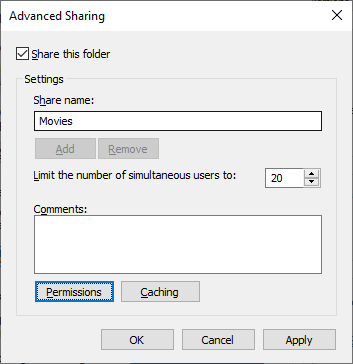
- Change to the Sharing tab, click “Advanced Sharing…“.
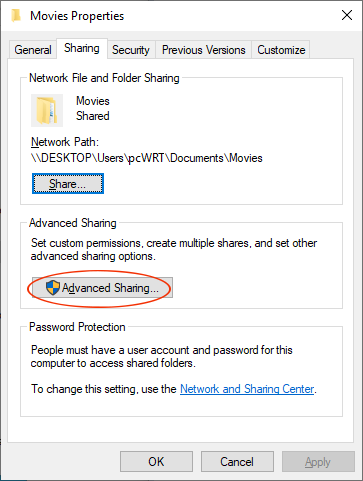
- Check “Share this folder“, click OK.
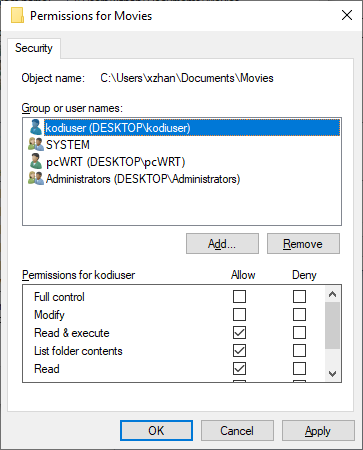
- Change to the Security tab. Add kodiuser to the list of Groups or user names. Click OK to save changes.
Create a movie library in Kodi
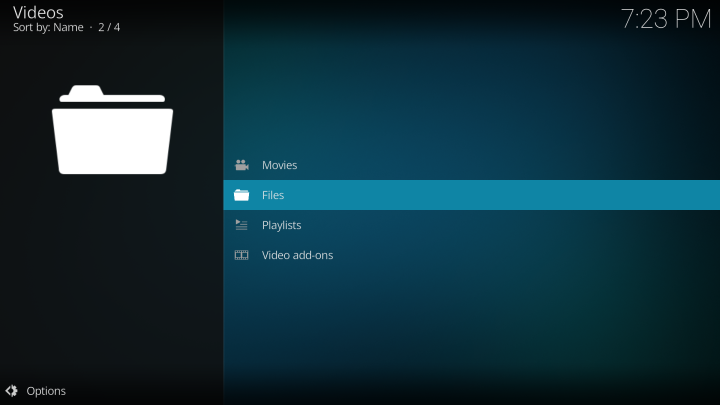
- Open the Kodi app on your Firestick, scroll to the Videos menu. Click on Files.
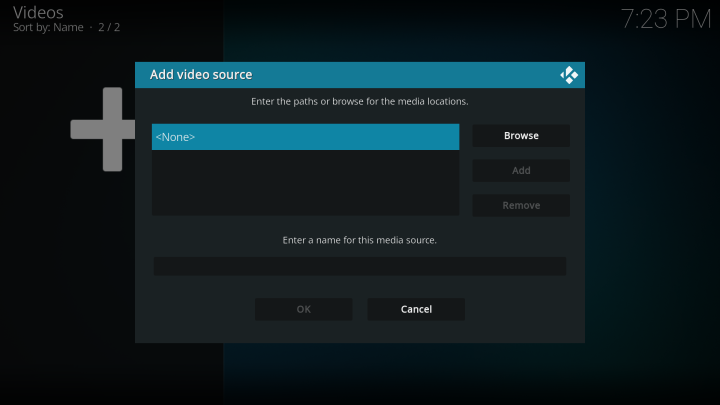
- In the Add video source dialog, click Browse.
- Click Add network location…

- Select Windows network (SMB) for Protocol, enter the IP address of your computer, enter the share name (Movies, if that’s the name you chose for the Windows share). Finally, enter the Windows Kodi username and password. Click OK.

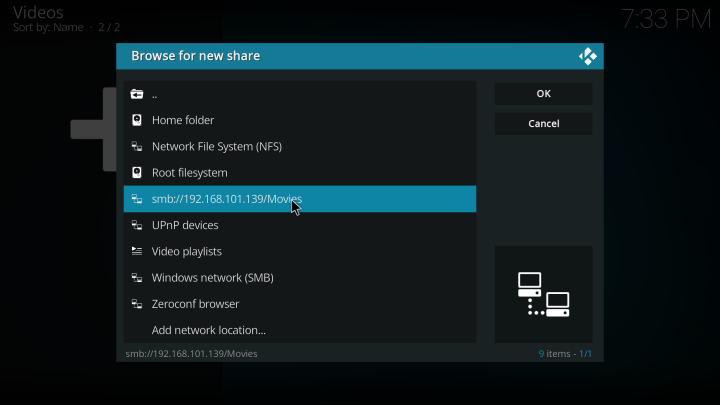
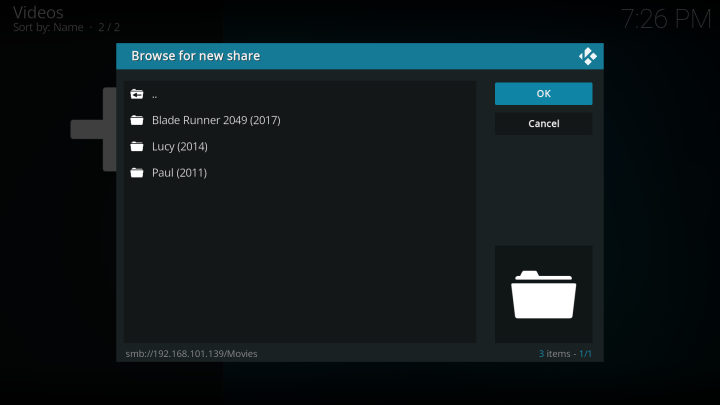
- Click on the newly created SMB share, then click OK.
- Click OK again to dismiss the Browse for new share dialog.
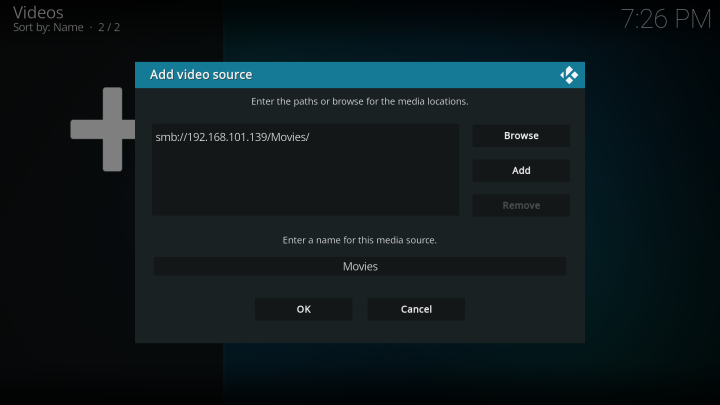
- Click OK again to dismiss the Add video source dialog.
- In the Set content dialog, select Movies for This directory contains. Toggle on Movies are in separate folders that match the movie title and Scan recursively. Click OK.
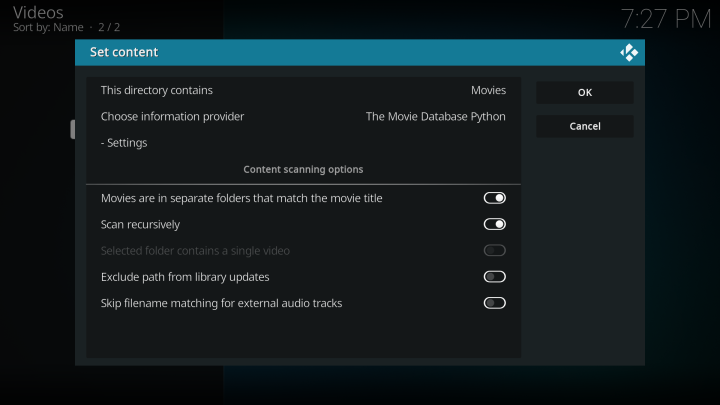
- Click Yes to finish. Kodi will scan the shared folder and build a Movies library.

Assign a static IP address to your computer
Finally, don’t forget to assign a static IP address to your computer that shared the movies folder. In the example above, my computer’s IP address is 192.168.101.139. I’ll need to configure my router to always assign this IP address to my computer, so that Kodi can always find the shared folder. Even after I reboot the router or computer.
The process may be different for each router, but every router should have the ability to do it. If you are using the pcWRT router, check out this topic in our forums: Set up hostnames and static leases.


Recent Posts
- Observing Android VPN Leaks with the pcWRT Router
- How to set up a second pcWRT router as an Access Point with VLAN support
- Is the MELLO charger a scam (Kickstarter)?
- How to reset the pcWRT router
- How to create your SSH key and use it on the router
Recent Comments
- on How to reset router password by email
- on How to reset router password by email
- on Does your parental control pass the DOH test?
- on How to create your SSH key and use it on the router
- on How to create your SSH key and use it on the router
Archives
- January 2025
- December 2024
- June 2024
- April 2024
- March 2024
- August 2023
- May 2023
- February 2023
- June 2022
- December 2021
- November 2021
- August 2021
- January 2021
- December 2020
- October 2020
- August 2020
- July 2020
- June 2020
- May 2020
- April 2020
- February 2020
- January 2020
- December 2019
- October 2019
- December 2018
- August 2018
- July 2018
- June 2018
- January 2018
- November 2017
- October 2017
- September 2017
- August 2017
- July 2017
- June 2017
- January 2017
- August 2016
- May 2016
- December 2015
- August 2015
- July 2015
- May 2015
- April 2015
- March 2015
Categories


As a quick note, these are the steps to share a movies directory on Ubuntu.
sudo apt install sambasudo useradd -M -s /sbin/nologin kodiusersudo passwd kodiusersudo smbpasswd -a kodiuser/etc/samba/smb.confto add the movies share:[Movies] comment = Movies share path = /home/username/movies browsable = yessudo service smbd restart